
Oct 24, 2026
Safe Material Discharge Practices for Construction Dumper Operators
Construction dumpers transport soil, aggregate, debris, and other materials across jobsites every day. Moving material is only half the job. Discharging it safely is the other half, and it deserves the same discipline as every other part of the work cycle.
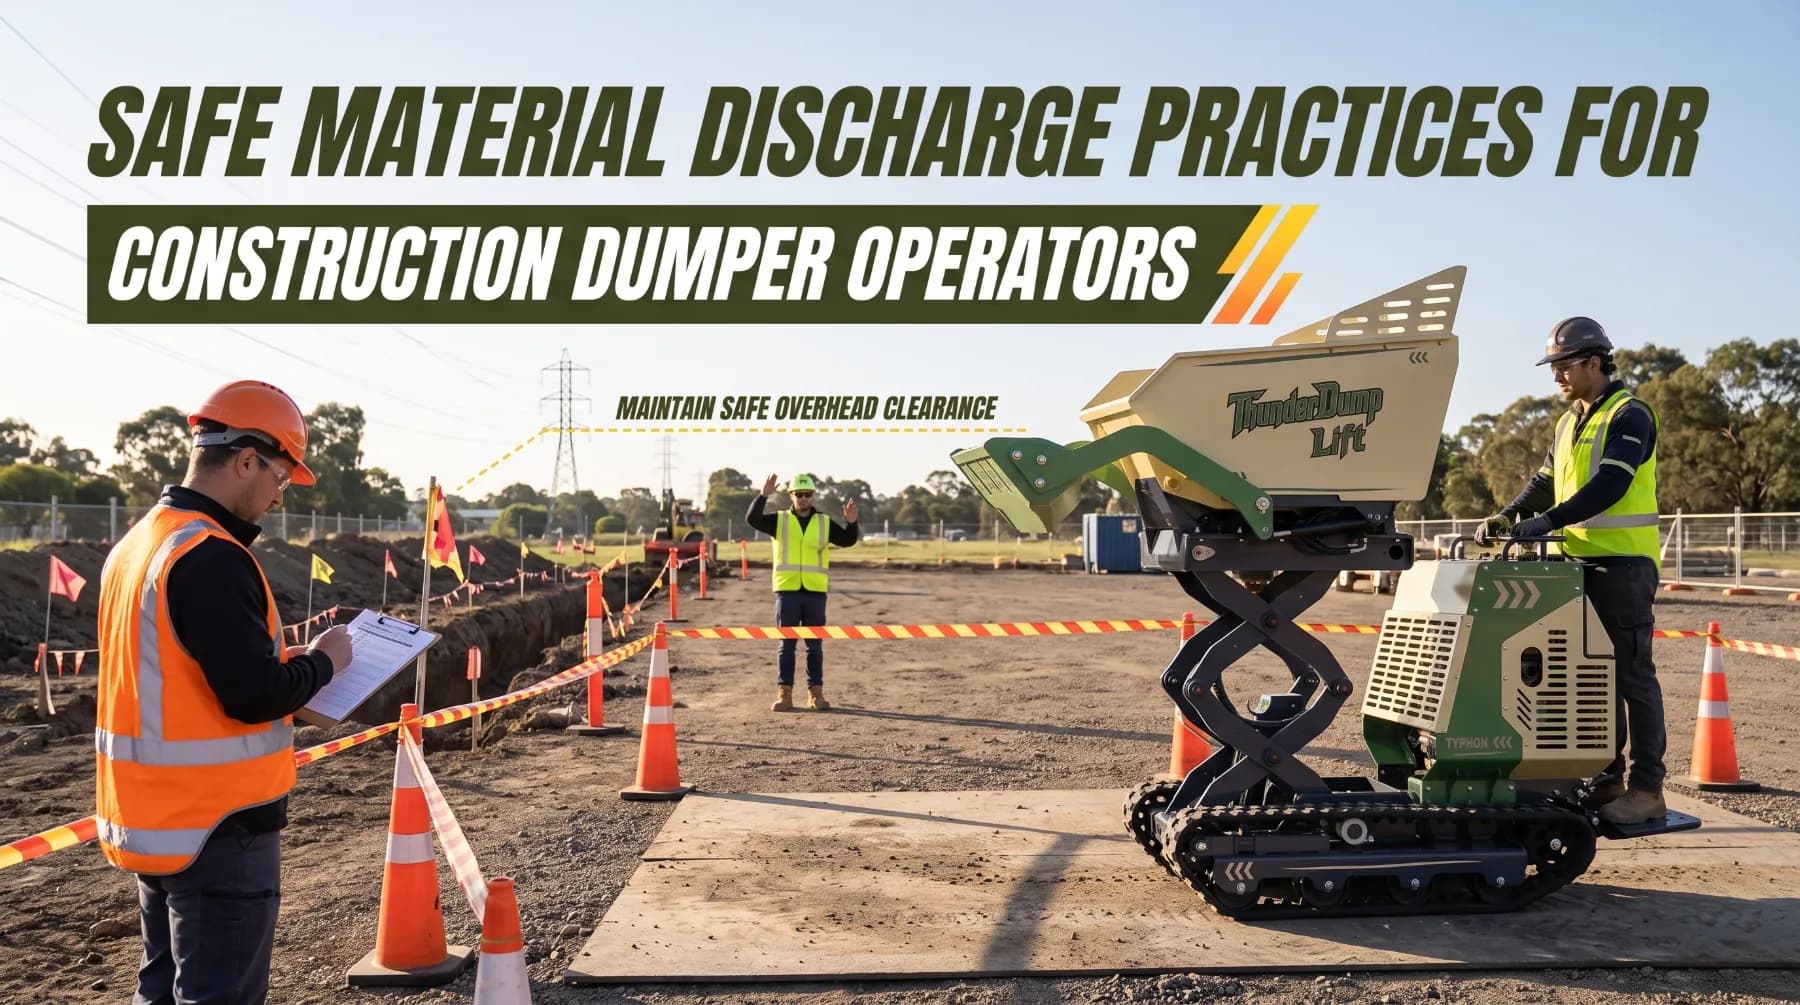
Construction dumpers transport soil, aggregate, debris, and other materials across jobsites every day. Moving material is only half the job. Discharging it safely is the other half, and it deserves the same discipline as every other part of the work cycle. When a dump body rises, the machine's balance shifts, the load becomes mobile, and the area around the dumper becomes a hazard zone. Getting that sequence right protects operators, workers on foot, and the ground the machine stands on.
Incidents during discharge often come down to a combination of factors: unsuitable ground, poor machine positioning, a load that moves unpredictably, or workers standing too close. Any one of these can cause a problem on its own. Together, they can cause a serious one. The good news is that each factor can be managed with proper preparation, correct technique, and consistent communication before the body goes up.
This guide covers the full discharge sequence, from choosing a suitable location and positioning the machine, to managing the load, controlling the body, maintaining a clear exclusion zone, and completing post-discharge checks. When operators apply these practices on every job, dumpers deliver material safely, reliably, and on schedule.
Choosing a Suitable Discharge Area
Where the dumper unloads matters as much as how it unloads. The discharge area must support the machine's weight and the shifting forces that occur as the body rises and the load moves. Ground that looks firm can still be unreliable if it is recently filled, saturated after rain, or weakened by hidden voids beneath the surface.
Before unloading, operators should walk the area and inspect the ground carefully. Look for the following:
-
Slope: Even a gentle incline changes how the load distributes during discharge and can affect the machine's balance as the body rises. Level ground is always the preferred option.
-
Soft or saturated soil: Wet clay, recently placed fill, and ground near drainage channels can compress or shift under a heavy machine. Press a boot heel into the surface and check whether it sinks.
-
Trenches and excavations: Ground near open excavations can crack and give way. Keep the dumper well back from any open cut or trench edge.
-
Drop-offs and embankments: Embankment edges and retaining walls can collapse under concentrated load. Confirm that the machine and its outriggers or wheels sit on solid, undisturbed ground.
-
Hidden voids: Old drainage lines, buried structures, tree roots, and previous excavations can leave voids that are not visible on the surface. Where there is any doubt, probe the area before driving on it.
-
Overhead hazards: Power lines, tree branches, building structures, and crane paths can all sit within reach of a raised dump body. Confirm overhead clearance before positioning.
If the area fails any of these checks and a safer location is available, use it. If no suitable area exists on the site, stop and report the problem to the site supervisor rather than discharging in an unsafe location.
Key takeaway: Inspect the ground for slope, soft soil, edges, voids, and overhead hazards before positioning the dumper, and choose a different location if any inspection point fails.
Clear the Zone Before You Tip
Safe dumper discharge starts with checking the ground, the unloading direction, and the space around the machine. Choose a firm, level surface with enough room for the material to land without reaching trenches, edges, traffic routes, or other equipment. Position the dumper squarely toward the discharge area, away from unstable ground and overhead hazards, and confirm that the machine is suitable for the site's conditions.
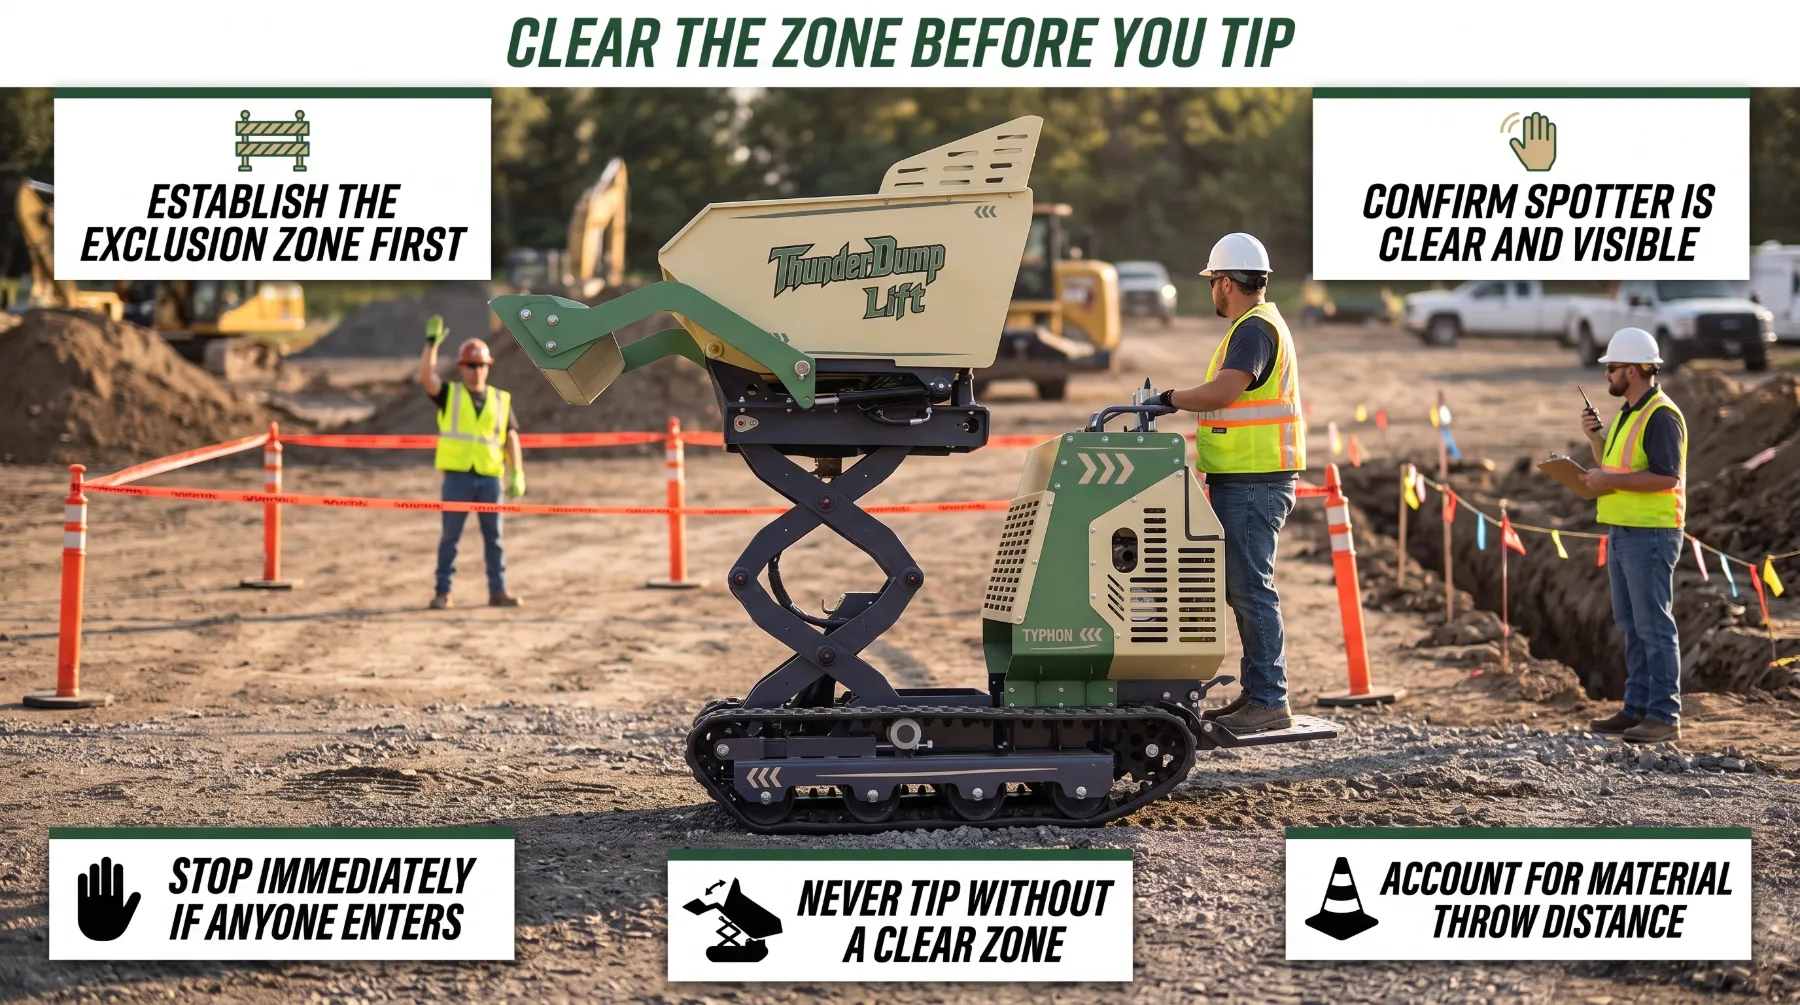
Before raising the skip, establish an exclusion zone around the dumper and the material discharge path. Use cones, barriers, or other clear markers to keep workers and pedestrians away from the tipping area. Material can shift, roll, or scatter as it leaves the skip, so allow sufficient clearance beyond the expected landing area. A spotter should remain in a safe position with a clear view of the operator and the discharge zone.
Communication must remain clear throughout the tipping cycle. Confirm that the area is clear before raising the skip, and stop immediately if anyone enters the exclusion zone, the spotter's signal becomes unclear, or the dumper begins to shift. Never continue tipping when ground stability, visibility, or personnel safety is uncertain.
Key takeaway: Establish a clear discharge zone, verify stable ground, and confirm that the spotter and operator have a clear understanding before and during every tipping cycle.
Positioning the Dumper
Once the discharge area has been confirmed as suitable, position the machine carefully before the body goes up. A dumper that is poorly positioned when the body rises has very little margin for correction. The direction of discharge, the alignment of the machine, and the clearance from edges and structures must all be right before the tipping cycle begins.
Follow the manufacturer's unloading instructions for the specific machine. These instructions define the conditions under which the body can be raised, including ground requirements, permissible slope, and whether the machine should face toward or away from the discharge point. Do not assume that the procedure for one dumper model applies to another.
When positioning, consider the following:
-
Machine alignment: The dumper should be square to the discharge direction. An angled approach can cause the load to shift to one side as it exits the body, which affects both the load distribution and the machine's stability.
-
Distance from edges: Wheels and tracks should sit well clear of trench edges, embankment crests, and drop-offs. The load adds to the downward force on the ground during discharge, and the edge must be able to support it.
-
Clearance from structures: The raised dump body can extend well above the machine's roof height. Confirm that buildings, walls, overhead lines, and other structures clear the body at full height.
-
Exit route: Confirm that the machine can move forward after discharge without reversing through the material it has just placed.
Avoid making steering corrections once the body has begun to rise. Sudden steering inputs during tipping can shift the machine's weight abruptly and increase instability. If repositioning is needed, lower the body fully, move the machine, and restart the positioning check before raising the body again.
Key takeaway: Position the machine square to the discharge direction, clear of edges and overhead hazards, before raising the body, and lower the body fully before making any repositioning movements.
Managing Load Weight and Distribution
How the load is placed in the dump body affects how it behaves during discharge. A load that is evenly distributed settles and flows predictably as the body rises. A load that is heavily concentrated on one side or at one end can shift suddenly, move the machine's center of gravity, and make the tipping cycle difficult to control.
Load management starts at the loading point. Operators should ensure that material is placed evenly across the body width and not piled excessively toward the front or rear. Dense materials such as wet clay, saturated soil, and broken concrete are particularly prone to creating uneven distribution if they are loaded from one direction without spreading. Wherever practical, request even loading from the excavator or loading machine operator.
Some materials do not flow freely when discharged. Wet clay, mixed demolition debris, and sticky aggregate can cling to the body and then release suddenly when the angle becomes steep enough. This sudden movement can jolt the machine and send material farther than expected. If the material type is known to be sticky or unpredictable, extra care is needed when approaching the full tipping angle, and the exclusion zone around the discharge area should account for the possibility of material discharging at a distance.
Follow the manufacturer's approved procedure for dealing with material that does not flow freely. Never attempt to dislodge stuck material by rocking the machine, repeatedly cycling the body, or entering the body while it is raised.
Key takeaway: Load material evenly across the body, stay within rated capacity, and follow the manufacturer's procedure for sticky or unpredictable materials rather than improvising clearance methods.
Check Before You Move
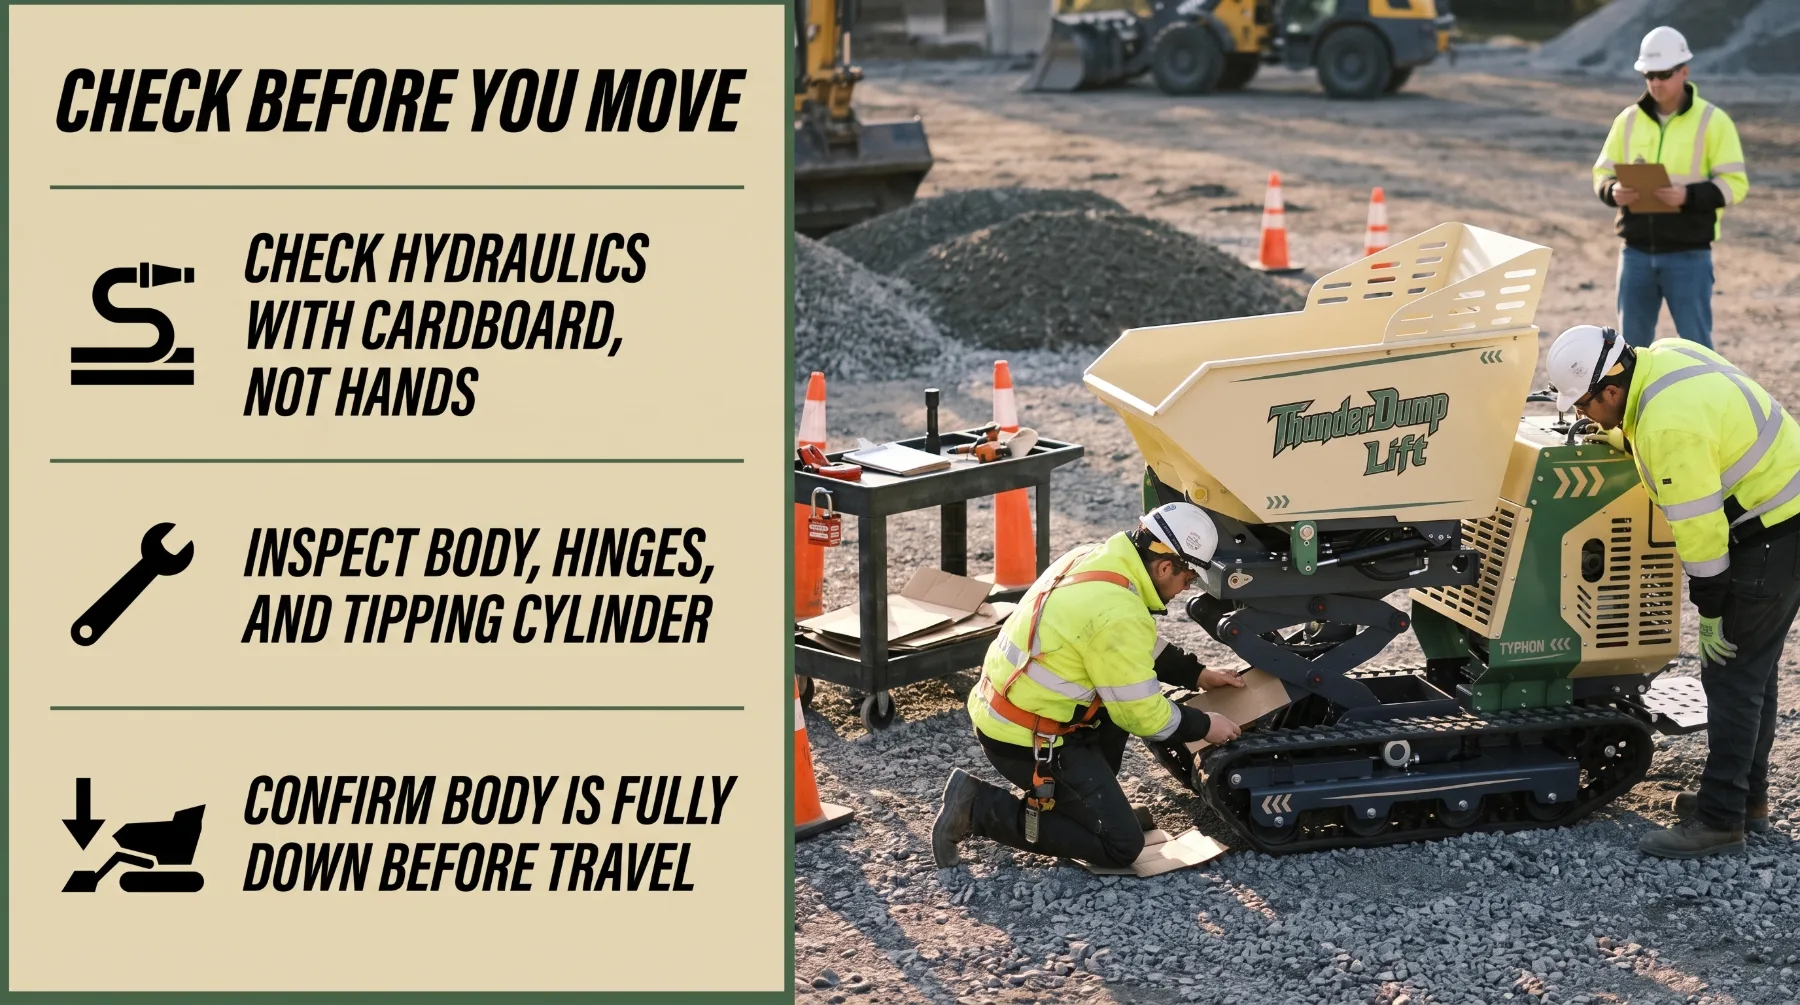
After discharging material, lower the skip completely and confirm that it is seated in the travel position before moving the dumper. Check that the tailgate is secured, the tipping cylinder is fully retracted, and no material remains trapped where it could fall during travel. Keep the machine stationary until the operator has confirmed that the body and all relevant controls are in the correct position.
A post-discharge inspection can identify problems before the next loading cycle. With the dumper parked safely, the engine shut down, and the key removed, inspect the skip body, hinges, pivot pins, hydraulic cylinder, hoses, and visible connections for cracks, wear, damage, or leaks. If a hydraulic leak is suspected, never use hands to locate it. Use cardboard or another suitable method from a safe position, and follow the manufacturer's shutdown and pressure-relief procedure before maintenance.
Before returning to travel, check the route for people, obstacles, uneven ground, and loose material. Confirm that the exclusion zone is clear, the body is fully lowered, and the operator has adequate visibility. If a fault is found or the skip does not lower correctly, keep the dumper out of service until the problem is addressed according to the manufacturer's instructions.
Key takeaway: Inspect the skip, hinges, and hydraulic system after discharge, then verify that the body is fully lowered and the travel path is clear before moving.
Inspection and Post-Discharge Checks
Every discharge cycle ends with a check of the machine and the surrounding area. Post-discharge inspections catch damage early, confirm the body is safely lowered, and ensure the area is safe for the next cycle or the next operator.
After the load has discharged and the body has been fully lowered, inspect the following:
-
Dump body and hinges: Look for cracks, bent sections, worn hinge pins, and loose fasteners that could affect the next tipping cycle.
-
Hydraulic cylinders, hoses, and fittings: Check for leaks and seepage. Never run your hand along a hose to check for leaks, since pressurized fluid can penetrate skin and cause serious injury. Use a piece of cardboard instead.
-
Control system: Confirm that the tipping control returns to neutral and that the body does not drift when the control is released.
-
Discharge area and ground: Note any sinking, cracking, or edge movement that occurred during tipping and report it before the next load is discharged in the same location.
-
Body cleanliness: Check for material stuck inside the body, around the hinges, or on the tailgate. Address buildup using the manufacturer's approved method before the next load.
-
Surrounding area: Confirm that material landed in the intended location and that no spillage has created a hazard on the travel route.
If material is stuck in the body, follow the manufacturer's approved procedure for clearing it safely. Lower the body to the fully down position, apply the parking brake, shut off the engine, and use a suitable tool from a safe position on the ground. If the body must be raised during clearing, use the manufacturer's approved support device before anyone works beneath it. Never climb into the body or strike components while the body is raised.
Before traveling to the next loading point, confirm that the body is fully lowered and secured, the travel route is clear, and no damage has occurred that would affect safe operation. Report any defects and keep the machine out of service until they have been corrected.
Key takeaway: After every discharge, inspect the body, hinges, hydraulics, and controls, assess the ground for movement or damage, address stuck material using the approved procedure, and confirm the body is fully down before traveling.
Conclusion
Safe material discharge is the result of deliberate decisions made before, during, and after every tipping cycle. Choosing a discharge area with firm, level ground and clear overhead and edge clearances sets the foundation. Correct machine positioning, aligned to the discharge direction and clear of every hazard, keeps the dumper stable as the body rises. Loads within rated capacity, distributed evenly in the body, behave predictably during tipping. Smooth, monitored control inputs keep the movement under control throughout. A maintained exclusion zone and consistent communication protect everyone nearby, and post-discharge checks catch ground changes and equipment damage before the next cycle begins. When operators and site supervisors apply these practices on every job, dumpers deliver material safely, reliably, and on schedule.
FAQs
Where should a construction dumper unload?
Use a designated area with firm, level ground, safe clearance from trench edges, embankment crests, and overhead hazards, and enough room to position the machine correctly for discharge.
Can a dumper unload on an incline?
Only when the manufacturer's instructions permit the slope, alignment, and ground conditions for the discharge configuration being used. Level ground is always the preferred option for tipping.
What should operators do if material sticks in the body?
Lower the body fully, apply the parking brake, shut off the engine, and follow the manufacturer's approved procedure for clearing stuck material. Never climb into the body or strike components while the body is raised.
What should be checked before driving away?
Confirm that the body is fully lowered, the load has discharged as intended, the hydraulics show no leaks, the travel route is clear, and no damage has occurred during the discharge cycle.